Plastic SCM on a NAS for Unity Version Control
I messed up — I accidentally bought the wrong Plastic SCM license and found myself without a cloud host. So instead of giving up, I built my own Unity version control server using a QNAP NAS, Docker, and Ubuntu. In this video, I’ll walk you through the full self-hosted setup: no subscriptions, no IT delays, and complete control over your team’s collaboration — perfect for game devs, VR projects, classrooms, and secure labs.
This is not a walkthrough on how to use Unity or Plastic SCM, just a guide on how I setup my own system.
Below you will find written instructions for the entire process, including terminal commands to make it easy to ‘copy & paste’.
Hardware & Software
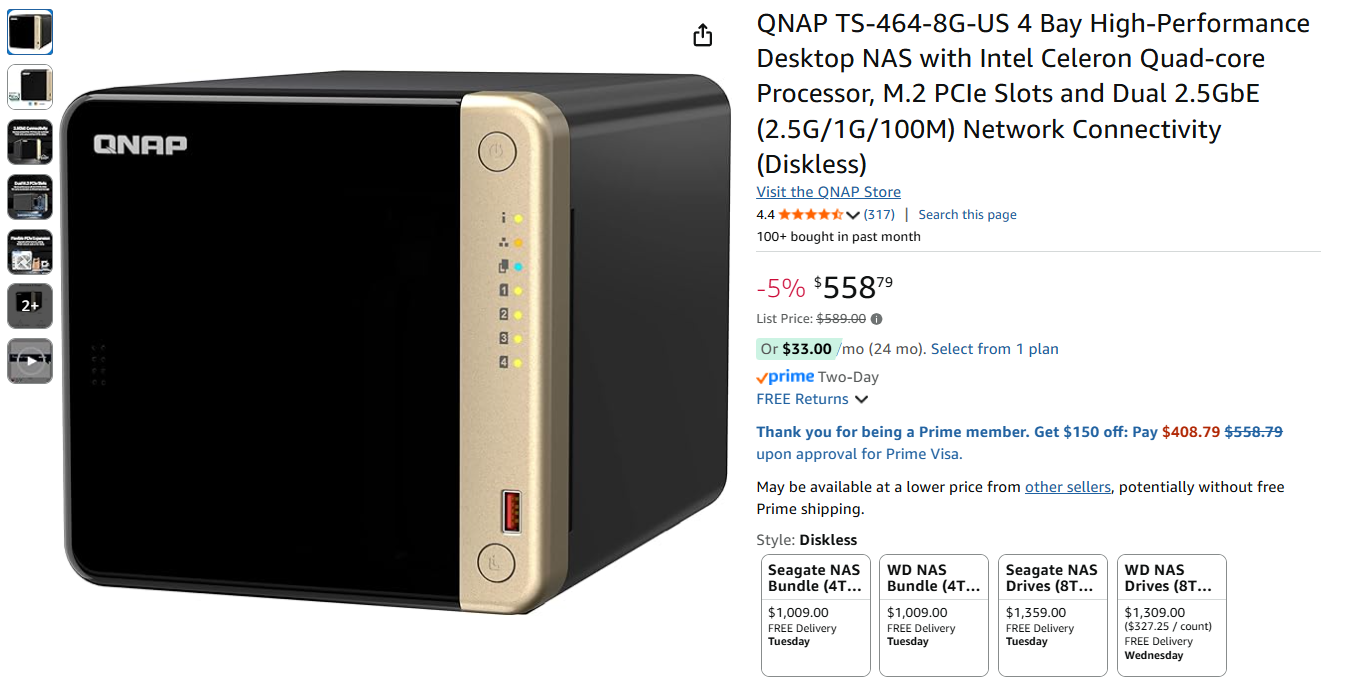
NAS: QNAP TS-464
Quad-core CPU
4 drive bays
Supports Container Station (Docker)
Drives: 4TB NAS-grade hard drives (x2)
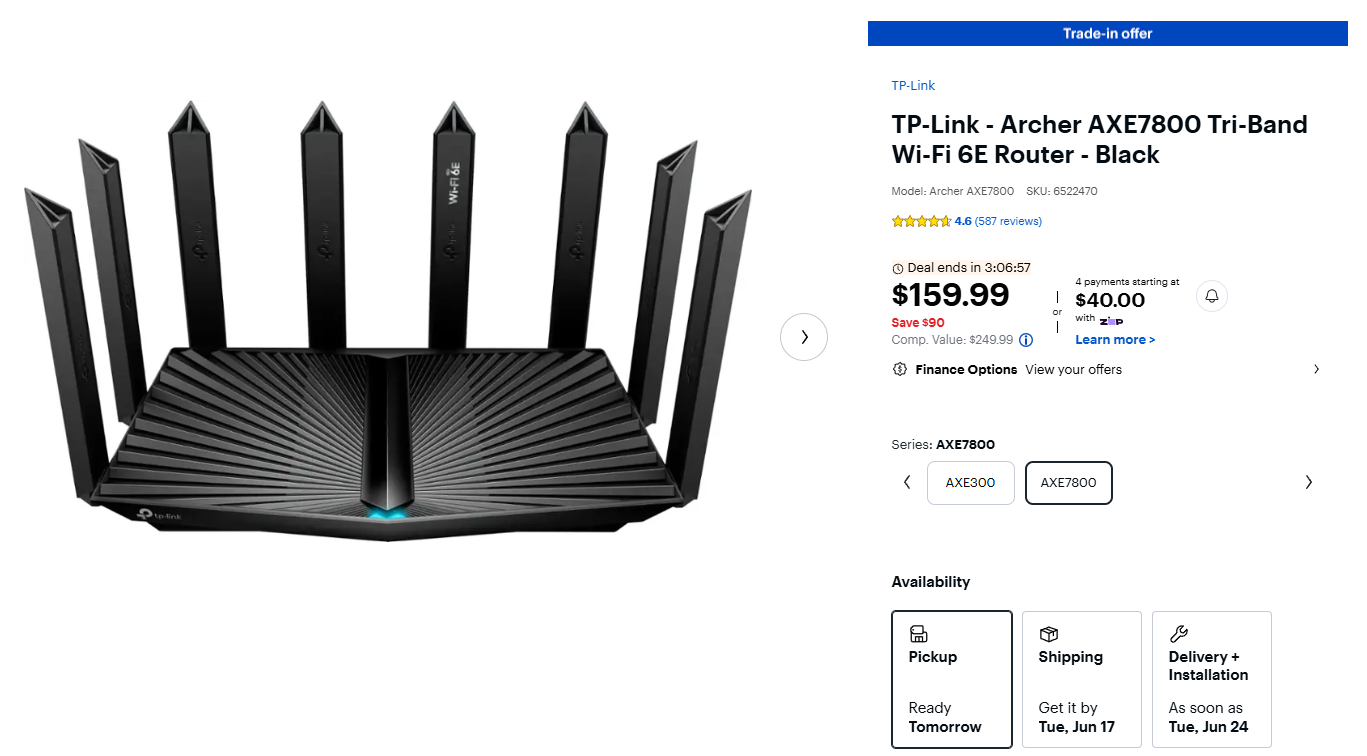
Router: TP-Link AXE7800
Wi-Fi 6E, for a fast, isolated local network
Client Machines: Windows PCs running Unity with Plastic SCM integration
Container OS: Ubuntu 22.04 (running inside Docker on the NAS)
Version Control System: Plastic SCM Enterprise Edition (self-hosted)
Package Manager Tools (installed manually):
sudo,curl,gnupg,apt-transport-https,lsb-release
Dependencies for Plastic SCM:
libicu70,libssl3,libkrb5-3,libgssapi-krb5-2,liblttng-ust1
Configuration CLI Tools:
plasticd configure(for server setup)umtool(for user creation)
Unity: Unity Editor with Plastic SCM plugin enabled
Web Interface: Plastic SCM WebAdmin (port 8088)

Prerequisites
Your NAS is powered on with hard drives installed and connected to your local network (wireless router in my case)
You may need to do an initial setup of your NAS through a keyboard menu system to setup:
Specify NAS name, username and password
Obtain IP address if connected to a router
Install software onto disks
At this time, your HDMI port on the NAS may not be active. Connecting to the web interface is advised during system setup.
You have admin access to your NAS web interface
You should be able to determine your NAS IP address either during the setup or afterwards through your wireless router
Your virtual machine software is installed and setup
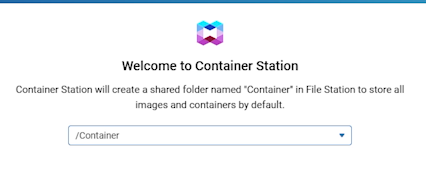
For the QNAP this software is called Container Station and installed in App Center
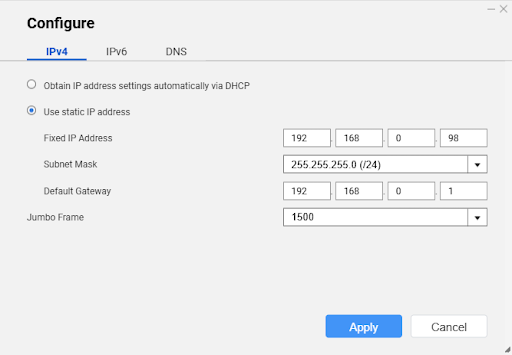
NAS Static IP
A static IP ensures that your Unity clients can consistently find the Plastic SCM server, even after changes to your network or power outages.
Go to Control Panel → Network & Virtual Switch
Under Interfaces, select your active adapter
Set IP address to static and choose a number in the 192.168.X.X range:
e.g.
192.168.1.100
Click Apply
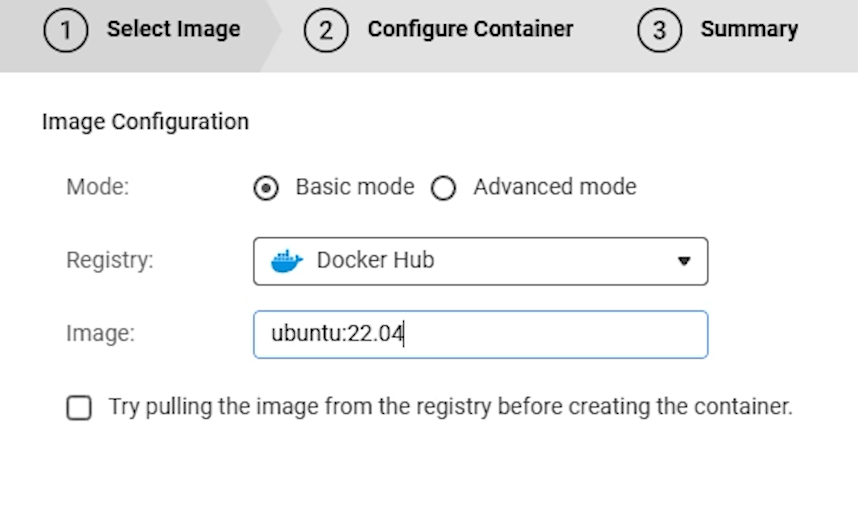
Create Ubuntu 22.04 Container
Inside Container Station, go to the Create tab
Search for
ubuntu:22.04Click Install → Name the container something like
plastic-ubuntuAdvanced Settings:
Enable Terminal Access
Allocate enough RAM (1–2 GB recommended)
Enable Auto-Start if you want it to boot with the NAS
Configure port forwarding to expose Plastic SCM to other machines:
8087→ Plastic SCM Client8088→ Plastic WebAdmin(Optional)
7178and7179for replication/event systems
Start the container if it isn’t already running
Open a terminal session via Container Station
Set Up Plastic SCM on Ubuntu 22.04
Install Required System Tools
Plastic SCM’s needs a more complete system than Ubuntu Docker provides, so we need to add some essentials. I recommend installing curl first because I ran into dependencies errors if I tried installing them all at the same time.
apt-get update
apt-get install -y curl
apt-get install -y gnupg apt-transport-https lsb-release
Added the Plastic SCM Repository Securely
GPG is used to verify the authenticity of software. We need to create a keyring folder to store our trusted GPG keys. This location will be in /etc/apt/keyrings/. The mkdir command makes this directory for us:
mkdir -p /etc/apt/keyrings
We then use curl to download the public key. GPG keys come in an ascii format (text), but Ubuntu would rather have them in a binary format (*.gpg file). The --dearmor converts from text to binary.
Downloaded and installed Plastic SCM’s public GPG key:
curl -fsSL https://www.plasticscm.com/plasticrepo/stable/ubuntu/Release.key | gpg --dearmor > /etc/apt/keyrings/plasticscm.gpg
We then need to tell Ubuntu about this new software source (PlasticSCM repo). We will only download from them if it is signed with the GPG key we downloaded earlier.
Add the Plastic SCM package repository using that key:
echo "deb [signed-by=/etc/apt/keyrings/plasticscm.gpg] https://www.plasticscm.com/plasticrepo/stable/ubuntu/ ./" > /etc/apt/sources.list.d/plasticscm.list
Install Plastic SCM
If you attempt to install plastic SCM at this point using the following command, you are likely to encounter several errors:
apt-get update
apt-get install -y plasticscm-complete
Plastic SCM requires several libraries that were not included in our bare-bones Ubuntu container. These include:
libicu70 : international Unicode support
libssl3 : OpenSSL for encryption
libkrb5-3 : core Kerberos 5 authentication
libgssapi-krb5-2 : GSS-API using Kerberos
Enter the following commands into your terminal:
apt-get update
apt-get install -y libicu70 libssl3 libkrb5-3 libgssapi-krb5-2 liblttng-ust1
ln -sf /bin/true /usr/bin/systemctl
apt-get install -y plasticscm-complete
Confirm Installation
Finally, confirm installation by checking that the plasticscm5 directory exists inside of the opt folder in ubuntu. Opt stands for optional, where 3rd party software not managed by the system’s main package manager can be stored. This is convenient because it keeps all files contained within one location.
ls /opt/plasticscm5/server/
If this directory exists and files like plasticd are present, installation succeeded.
Within the server folder are several important files and directories:
plasticd : executable server to launch Plastic SCM, follow with ‘start’ to execute
Listens on port 8087 and accepts client connections. Manages access and authorization
plastic.lic : lists all license files used by the server
*.lic : actual license files
server.conf : defines the ports, working mode, repo paths, etc…
users.conf, groups.conf :UPWorkingMode users and groups
logs/ : Plastic server logs, good for debugging things
jet/ & jet.conf : used for storing data in Jet backend
plasticd.log.conf : log configuration for verbosity, etc.
Server Configuration
You're now ready to configure the Plastic SCM server with the plasticd configure command:
/opt/plasticscm5/server/plasticd configure
First, choose your language (English in my case).
For ports, make sure to expose 8087 and 8088.
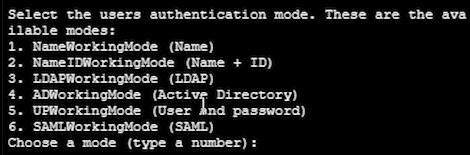
You will need to choose a user authentication mode. I will be using UPWorkingMode where I assign a username and password to each individual person.
Select the users authentication mode. These are the available modes:
NameWorkingMode (Name)
NameIDWorkingMode (Name + ID)
LDAPWorkingMode (LDAP)
ADWorkingMode (Active Directory)
UPWorkingMode (User and password)
SAMLWorkingMode (SAML)
For the rest of this tutorial, we will assume you chose option 5, UPWorkingMode.
Starting and Stopping the Server
To start the server, use the following terminal command:
/opt/plasticscm5/server/plasticd start &
The & runs it in the background and returns control to your terminal.
To kill the server, which can be necessary when you make configuration changes or add license, use the following terminal command:
pkill plasticd
Creating User Accounts & Passwords
After configuring your Plastic SCM server in UPWorkingMode, you'll need to manually create and manage users. Plastic SCM provides a simple command-line tool for this called umtool.
To add a user with a username and password, in the terminal write:
/opt/plasticscm5/server/umtool adduser <username> <password>
To see all users created in your current authentication database:
/opt/plasticscm5/server/umtool listusers
Install Licenses
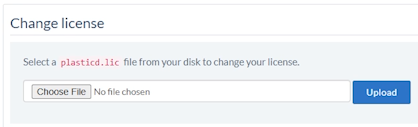
Download your licenses from the Plastic SCM website where you purchased them. Your license file should be a *.lic file. We will use the Plastic SCM web interface to set our license.
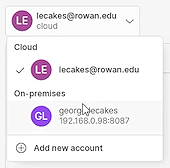
Using a web browser, log into your Plastic SCM web interface using https://<ip address>:7179
Navigate to the license tab and choose “Change License” and select the license file you downloaded earlier.

Connecting via Plastic SCM GUI and Unity Version Control
Plastic SCM GUI
Go to Plastic SCM’s website and download the GUI, selecting the correct version for your operating system:
https://www.plasticscm.com/download
Launch the Application
On First Launch → Choose “Custom Mode”
This gives you more control and visibility than “Simplified Mode”.Server Configuration:
Server:
plastic://<IP>:8087Replace
<IP>with the actual local IP of your NAS (e.g.,192.168.1.100).Username & Password:
Use the credentials you created withumtool.
Click "Connect"
Create or Clone a Repository:
From the Repositories tab, you can:
Clone an existing repo
Create a new one
Browse server contents
You’ll now be working directly with your self-hosted server
Unity Version Control
Open Unity (any version that supports Plastic — 2020.1 or newer)
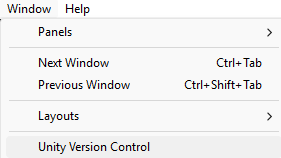
Go to Window → Plastic SCM
On First Use:
Unity may prompt you to set up a workspace
Choose “Connect to an existing server”
Enter Your Server Info:
Server:
cppCopyEdit
plastic://<NAS-IP>:8087Username & Password:
Enter your manually created Plastic credentials
Select or Create a Repository
If you’ve already created a repo via the Plastic GUI, select it
Otherwise, Unity can help create one for your current project
That’s it — You’re Connected!
You can now check in, update, and manage branches directly from within Unity